Shopify Automatic Order Printing: A Webhook-to-Printer Guide
Connect Shopify order events to physical warehouse printers. Learn how to choose a trigger, generate packing slips, route documents, and track print jobs with PrintScaler.
By the PrintScaler team · · 9 min read
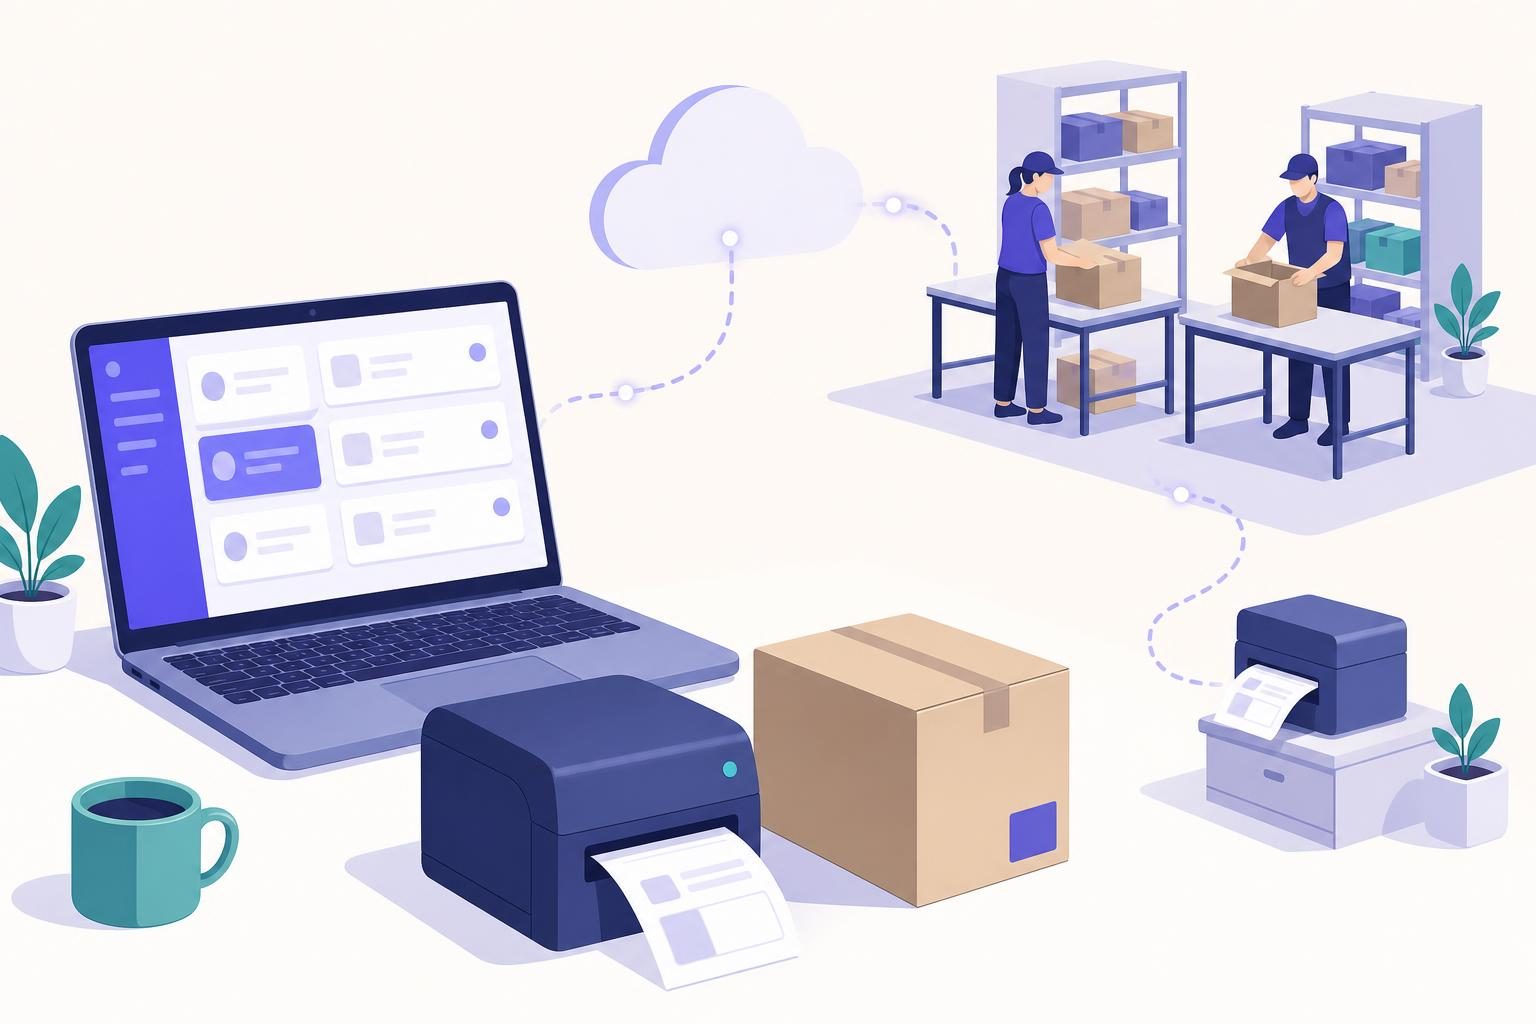
Shopify automatic order printing requires a connection between an order event, a printable document, and the printer at your fulfillment desk. A practical custom setup uses a Shopify webhook to start a background job, generates a packing-slip PDF, and sends that PDF to a physical printer through PrintScaler. This avoids leaving an admin browser open or asking staff to click Print for every order.
The important distinction: PrintScaler handles delivery to the printer, not Shopify order management or document design. Your integration decides when an order is ready, what should print, and where it should go.
How Shopify automatic order printing works
A reliable workflow has five parts:
- Shopify sends an order event to your integration.
- Your server verifies and records the event before acknowledging it.
- A background worker checks fulfillment rules and prepares the document.
- The worker submits a print request to PrintScaler.
- The warehouse printer receives the document through a connected computer running the PrintScaler agent.
For an ordinary PDF packing slip, the final request looks like this:
POST https://api.printscaler.com/v1/printjobs
Authorization: Bearer psk_...
Content-Type: application/json

{
  "printerId": 123,
  "contentType": "pdf_uri",
  "content": "https://your-app.example/print-documents/order-1042.pdf",
  "title": "Packing slip 1042"
}
The document URL above is illustrative: your application must generate and host the actual PDF. It must be reachable without an interactive login when the printing workflow retrieves it.
This is a custom integration, not a claim that installing PrintScaler alone adds automatic printing to Shopify. You need an application or automation backend to connect the two systems.
Choose the right Shopify order trigger
Before writing code, define exactly what makes an order eligible to print. Printing too early can waste paper or put unpaid orders into the packing queue.
| Business requirement | Possible trigger | Additional check |
|---|---|---|
| Print after successful payment | Order paid event | Confirm the order is still eligible for fulfillment |
| Print cash-on-delivery orders immediately | Order created event | Apply your payment-method policy |
| Print only after fraud review | Your application’s approval step | Confirm the approval is current |
| Print for a specific warehouse | Fulfillment assignment or routing decision | Resolve the location before choosing a printer |
| Print an updated packing slip | Explicit revision or reprint action | Distinguish it from the original document |
For many stores, Shopify’s orders/paid webhook topic is a sensible starting point. An orders/create event can arrive before the payment or operational checks you care about have finished.
There is no universally correct trigger. A store selling made-to-order products may want printing after production approval, while a cash-on-delivery merchant may deliberately print before payment.
Order printing is not shipping-label purchasing
A packing slip describes the items someone should pick or pack. A shipping label contains carrier-specific shipment information and usually depends on a separate label-generation or purchasing step.
PrintScaler can deliver a document you already have. It does not purchase postage or turn a Shopify order payload into a carrier label.
If you need both documents, treat them as separate outputs with separate readiness conditions. Do not hold an otherwise valid packing slip indefinitely just because the carrier label is not available yet.
Step 1: Connect the fulfillment printer to PrintScaler
Install the agent on a computer that can print to the warehouse printer through its normal operating-system setup.
- Get the appropriate PrintScaler agent download.
- Install it on Windows, macOS, Linux, or a Raspberry Pi.
- Enter the dashboard’s pairing code in the agent to link the computer.
- Confirm that the printer appears in the dashboard.
- Use the dashboard’s test-page button before connecting Shopify events.
- Record the printer ID for your server-side configuration.
The agent runs in the background, starts automatically after reboots, and connects outward over WebSocket. You do not need to open an inbound port on the warehouse router for this agent-based setup.
Keep the computer available during fulfillment hours. If it goes offline, jobs can queue and print when it reconnects, provided they have not reached their configured expiration time.
Match the printer to the document
An office printer is usually the simplest destination for letter-size or A4 packing slips. A thermal label printer makes sense for a document designed for its label dimensions.
Do not send a full-page packing slip to a small label printer and expect readable results. Create a separate template for each paper format, then test with a real order containing long product names, multiple variants, discounts, and a multi-page item list.
Step 2: Receive and verify Shopify webhooks
Configure your Shopify app’s webhook subscription for the event you selected. Use an HTTPS endpoint on your backend, not a URL on a warehouse computer.
Shopify webhook authentication uses an HMAC calculated from the original request body bytes. If middleware parses and reserializes JSON before verification, the bytes may change and signature verification can fail.
This Express example shows the verification boundary:
import express from "express";
import crypto from "node:crypto";
import { enqueueOrder } from "./queue.js";

const app = express();
const secret = process.env.SHOPIFY_APP_SECRET;
if (!secret) throw new Error("Missing SHOPIFY_APP_SECRET");

app.post("/webhooks/shopify/orders-paid",
  express.raw({ type: "application/json", limit: "2mb" }),
  async (req, res) => {
    const supplied = Buffer.from(
      req.get("X-Shopify-Hmac-Sha256") || "", "base64"
    );
    const expected = crypto.createHmac("sha256", secret)
      .update(req.body)
      .digest();

    if (supplied.length !== expected.length ||
        !crypto.timingSafeEqual(supplied, expected)) {
      return res.sendStatus(401);
    }

    const shop = req.get("X-Shopify-Shop-Domain");
    // Single-store example; use a verified store registry for multiple shops.
    if (shop !== process.env.SHOPIFY_SHOP_DOMAIN) {
      return res.sendStatus(403);
    }

    try {
      const order = JSON.parse(req.body.toString("utf8"));
      await enqueueOrder({ shop, order });
      return res.sendStatus(200);
    } catch {
      return res.sendStatus(503);
    }
  }
);

app.listen(3000);
Here, enqueueOrder is an application-specific adapter you must implement with a durable queue or transactional database outbox. It is not a PrintScaler function. Resolve its promise only after the work is safely stored.
Register this raw-body route before any global JSON parser that would consume its request body. Also configure the webhook subscription separately; creating an Express route does not subscribe the app to Shopify events.
Acknowledge receipt, not physical printing
The endpoint should return success after durable storage. It should not wait for PDF generation, a remote printer, or warehouse staff.
That separation keeps a temporary printing problem from turning into a webhook delivery problem. If persistence fails, return an error so delivery can be retried; if printing fails later, handle that failure in your worker.
Shopify app configuration, order-data access, and any required permissions remain separate prerequisites. Confirm that your app can access the fields your packing-slip template needs.
Step 3: Generate a print-ready packing slip
An order webhook is data, not a finished PDF. Your background worker needs to transform that data into a document using your chosen PDF-generation library or rendering service.
A useful packing slip normally includes:
- A human-readable order reference.
- Recipient and shipping address details needed for fulfillment.
- Product names, variants, quantities, and SKUs when available.
- Operational notes that staff genuinely need.
- A clear indication of partial shipments or location-specific items.
Do not automatically copy every customer field onto the page. Keep unnecessary personal information out of documents, logs, and print-job titles.
Recheck eligibility before rendering
A webhook is a snapshot of an event. If your workflow may wait in a queue, check the current order or fulfillment state before creating a document that authorizes warehouse work.
For example, an order might be canceled while a worker is unavailable. Your policy should decide whether to skip the job, flag it for review, or print a clearly identified exception document.
For split fulfillment, a whole-order packing slip can be misleading. Render only the items assigned to the relevant shipment or location when that is how your operation works.
Choose URL delivery or Base64
PrintScaler accepts PDFs as pdf_uri or pdf_base64:
- Use
pdf_uriwhen the worker already stores PDFs at retrievable URLs. For private documents, use appropriately scoped, time-limited access. - Use
pdf_base64when the worker already has the PDF bytes and you want to include them directly in the request.
Base64 increases the request payload size. URL delivery introduces a document-access dependency. Test the full retrieval path, not just whether the link opens in your own logged-in browser.
If using an expiring URL, test its lifetime against your queue and offline-printing behavior. Do not assume a short-lived link will remain usable after a long delay.
Step 4: Submit the PDF from a background worker
The following Node.js example sends an existing PDF URL to PrintScaler. It assumes a current Node.js runtime with built-in fetch and that document generation has already completed.
import crypto from "node:crypto";

const required = name => {
  const value = process.env[name];
  if (!value) throw new Error(`Missing ${name}`);
  return value;
};

const printerId = Number(required("PRINTSCALER_PRINTER_ID"));
if (!Number.isInteger(printerId) || printerId <= 0) {
  throw new Error("Invalid printer ID");
}

// Persist this identity with the work item; reuse it for retries.
const documentIdentity = required("PRINT_DOCUMENT_ID");
const idempotencyKey = crypto.createHash("sha256")
  .update(documentIdentity)
  .digest("hex");

const response = await fetch(
  "https://api.printscaler.com/v1/printjobs",
  {
    method: "POST",
    headers: {
      Authorization: `Bearer ${required("PRINTSCALER_API_KEY")}`,
      "Content-Type": "application/json",
      "X-Idempotency-Key": idempotencyKey
    },
    body: JSON.stringify({
      printerId,
      contentType: "pdf_uri",
      content: required("PACKING_SLIP_PDF_URL"),
      title: "Shopify packing slip"
    })
  }
);

if (!response.ok) {
  throw new Error(`Print submission failed: HTTP ${response.status}`);
}

const responseBody = await response.text();
// Persist the successful response in your work record.
console.log("Print request accepted");
Use a stable document identity such as store:order:shipment:packing-slip:v1. Include a shipment or location identifier when one order produces multiple distinct documents.
A deliberate reprint should get a new identity; a retry of the same submission should not. The separate guide to preventing duplicate print jobs explains that distinction in more detail.
Keep the API key in server-side secrets, never in a Shopify theme or browser bundle. See the print-job API reference for submission details and supported document types.
Step 5: Route orders to the correct warehouse printer
For one fulfillment desk, a configured printer ID may be enough. For multiple locations, build an explicit mapping between your fulfillment destination and a PrintScaler printer ID.
For example:
| Fulfillment destination | Document | Destination printer |
|---|---|---|
| Main warehouse | Packing slip | Main warehouse office printer |
| Secondary warehouse | Packing slip | Secondary warehouse office printer |
| Gift-packing station | Gift insert | Gift station printer |
Do not use the customer’s shipping country as a substitute for actual fulfillment assignment. Inventory availability, split shipments, and manual reassignment can all change where an order is packed.
If routing is unresolved, hold the work item for review instead of silently choosing a default printer. A document printed in the wrong building can be harder to detect than a failed API request.
Printer capabilities, including available paper sizes and trays, are readable through the API. Validate the selected printer’s capabilities before depending on a particular output configuration.
Step 6: Track failures without creating duplicate work
Store the relationship between the Shopify work item, document version, destination printer, and PrintScaler job. A successful submission is not the same as a confirmed physical page in a packing tray.
PrintScaler exposes job states including new, sent_to_client, queued, in_progress, done, error, cancelled, and expired, with history. Interpret those states within your operational workflow rather than treating every API success as proof that fulfillment staff received the document.
Use PrintScaler webhooks to receive job-state and computer-connectivity events. Verify their HMAC-SHA256 signatures, and make the event consumer safe to run more than once because webhook deliveries can be retried.
Important exception paths include:
- Computer offline: notify the location and allow for the configured job expiration.
- Job expired: require a business decision before resubmitting an old order.
- Submission timeout: retry with the same idempotency key.
- Canceled order: stop unsent work and review anything already submitted.
- Missing or damaged paper output: provide an authorized reprint action with an audit trail.
For bursts of orders, throttle workers to the API’s 10 requests per second limit, with burst capacity of 30. Count documents, not just orders: one order may create several print requests.
Test before enabling unattended printing
Start with a dedicated test printer or a supervised fulfillment period. Run through paid and unpaid orders, canceled orders, duplicate event deliveries, multi-page slips, split shipments, and an offline warehouse computer.
Also test the human process: can staff identify which shipment a page belongs to, and do they know how to request a reprint without creating another shipment?
PrintScaler pricing is per print request, not per page. The Free plan includes 100 prints per month and one connected computer, which can support an initial pilot; check current plans and limits against your expected document volume and location count.
Put Shopify orders on paper without manual clicks
The strongest setup keeps order decisions, document generation, and printer delivery separate. Shopify supplies the event, your application applies fulfillment rules, and PrintScaler delivers the prepared document to the right printer.
Start with one trigger, one packing-slip template, and one destination. Create a free PrintScaler account, verify a test page, and run a small supervised pilot before enabling automatic printing across your fulfillment operation.
Frequently asked questions
Can Shopify orders print automatically without someone opening the admin?
Yes. A backend can receive Shopify order webhooks, generate a printable document, and submit it to PrintScaler. This requires an integration that connects the order event to document generation and the destination printer.
Does PrintScaler include a native Shopify automatic printing app?
The workflow described here uses a custom integration with Shopify webhooks and the PrintScaler API. PrintScaler handles printer connectivity and print-job delivery; your application supplies Shopify event handling, document templates, and routing rules.
Should I print Shopify orders when they are created or paid?
Use the event that matches your fulfillment policy. An order-paid event is often appropriate when staff should only pack paid orders, while cash-on-delivery workflows may intentionally start from order creation with additional checks.
Can this workflow print Shopify shipping labels?
Yes, if your workflow already has a print-ready shipping label from a carrier or shipping system. PrintScaler delivers that document to the printer; it does not purchase postage or generate carrier labels from order data.
What happens if the warehouse computer is offline?
Print jobs can queue while the connected computer is offline and print when it reconnects, subject to their configured expiration time. Monitor offline and expired jobs so stale packing slips do not unexpectedly enter fulfillment.
Can Shopify orders print to different warehouse locations?
Yes. Your integration can map each resolved fulfillment location to a PrintScaler printer ID. For split shipments, generate location-specific documents rather than sending the full order to every warehouse.