Print From Docker to a Local Printer: A Practical Guide
Your Docker container does not need direct access to a warehouse or office printer. Learn how to send PDFs through a cloud printing API, manage credentials, and handle offline printers safely.
By the PrintScaler team · · 10 min read
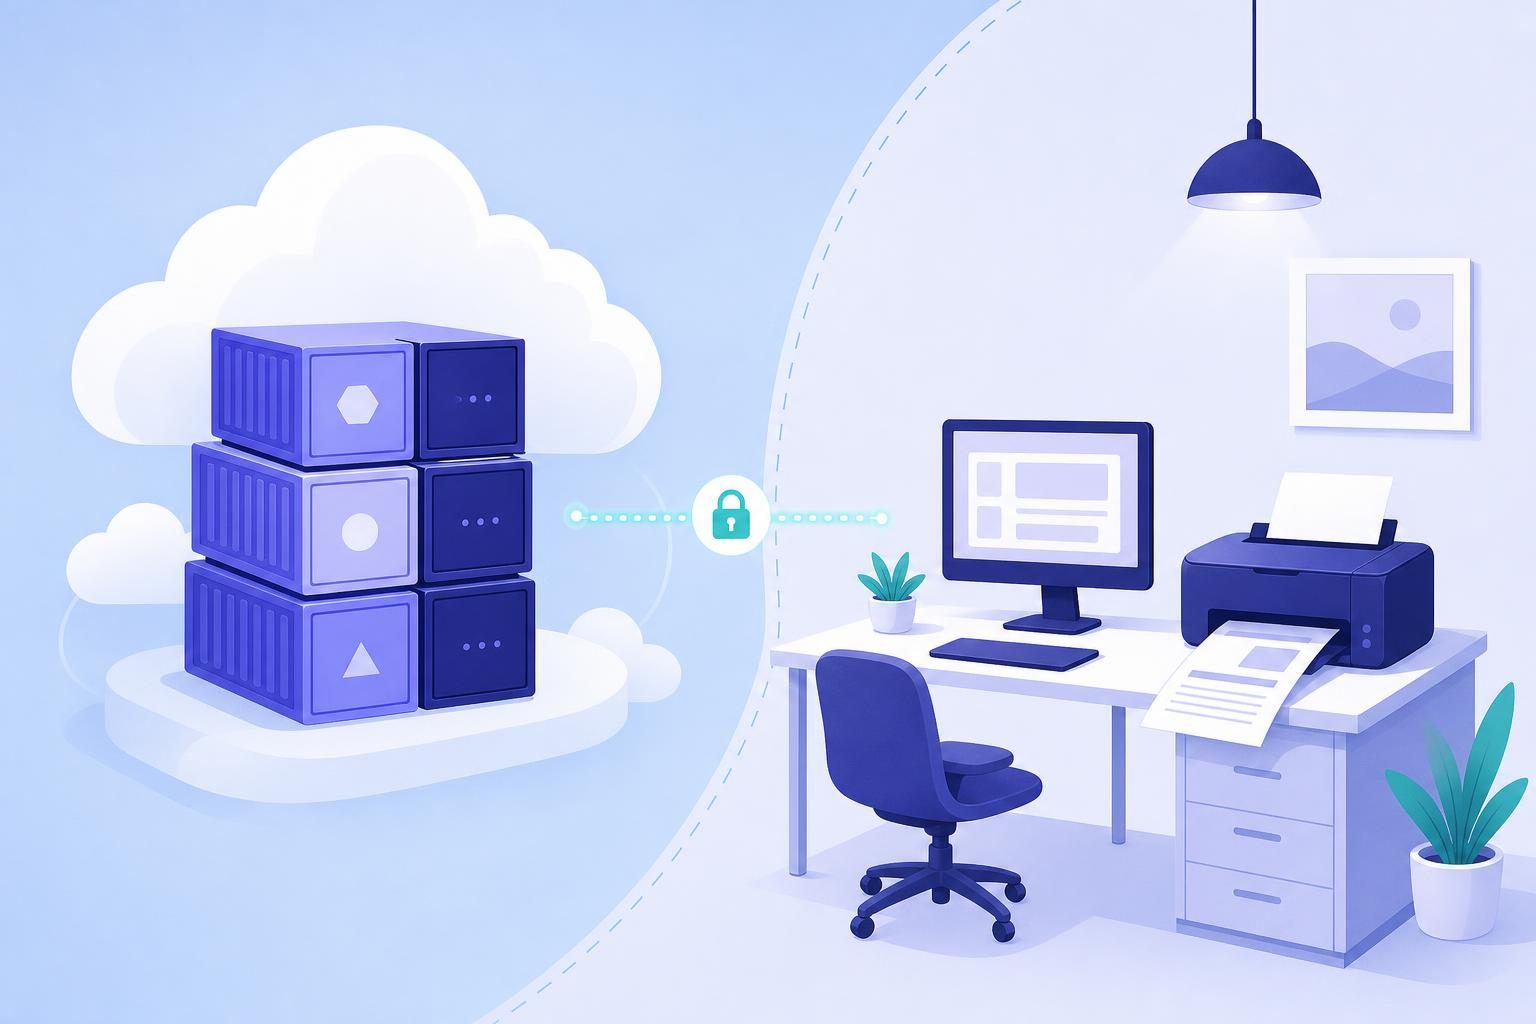
You can print from Docker to a local printer by sending an HTTPS request to a printing API, while a small agent on the printer-connected computer handles local delivery. Your container does not need USB passthrough, the printer’s private IP address, or an inbound connection to the office network. This guide builds that workflow with a PDF, a Python container, Docker Compose secrets, and PrintScaler.
Why printing from a Docker container gets complicated
A container can generate an invoice or packing slip without knowing anything about the physical printer. The difficulty starts when it tries to deliver that document.
A printer might be attached by USB to a warehouse workstation, installed on a Windows computer, or reachable only inside a store’s private network. Meanwhile, your container may run on a cloud VM or a managed container platform hundreds of miles away.
Those are separate environments with separate network and device boundaries.
Installing a printer driver inside your application image does not make a remote USB printer accessible. Likewise, a printer address such as 192.168.1.50 is only useful if the container has a valid network route to that particular network. Many unrelated offices use that same private address.
The first decision is therefore architectural: should your container manage the printer directly, or should it submit a job to a service that can reach the printer?
Choose the right Docker printing architecture
There are several valid approaches. The right one depends on where the container runs and who manages the printer.
| Approach | Appropriate situation | Main responsibility |
|---|---|---|
| USB device passthrough | Container and USB printer share a physical host | Manage device access, permissions, and printing software |
| Network printer or CUPS connection | Container can route to a trusted print network | Configure protocols, queues, drivers, and network access |
| Cloud printing API with a local agent | Cloud-hosted containers print at offices, stores, or warehouses | Map destinations and submit authenticated jobs |
When direct printer access makes sense
For a Linux-based appliance sitting beside one printer, direct access may be reasonable. A container can potentially use a passed-through USB device or submit work to a reachable print server.
However, setup depends on the host operating system, container runtime, printer, and printing stack. Docker Desktop also introduces a virtual-machine boundary, so a Linux-host example is not automatically portable to a developer’s laptop.
Avoid treating privileged containers or broad host-device access as a default solution. Grant only the access the actual deployment requires.
When an API is the simpler boundary
For a cloud-hosted application printing at customer locations, use this separation:
Application container
        |
        | HTTPS print request
        v
PrintScaler
        |
        | Existing outbound agent connection
        v
Warehouse or office computer
        |
        v
Physical printer
The application handles business events and document generation. The local computer handles access to its installed printers. Neither side needs to pretend it lives on the other’s network.
If you are deciding whether the local machine should be a small dedicated device, the Raspberry Pi print server guide covers that deployment choice separately.
How to print from Docker with PrintScaler
This example sends an existing PDF from a short-lived Docker container. It uses Python’s standard library, so you do not need an SDK, a printer driver in the image, or a running CUPS service inside the container.
Before starting, have:
- Docker and Docker Compose available on your development machine.
- A PDF you are allowed to print.
- A computer with the target printer installed and working.
- A PrintScaler account, an API key, and the target printer ID.
1. Connect the computer that can access the printer
Install the PrintScaler agent on the printer-connected computer. It supports Windows, macOS, Linux, and Raspberry Pi.
Link that computer by entering the pairing code in the dashboard. Then locate the printer and use the dashboard’s test-page button to confirm the local setup works.
Resolve driver, paper, and connectivity problems here before debugging Docker. A container cannot fix a printer that the local computer cannot use correctly.
The agent runs in the background, starts automatically after reboots, updates itself, and reports printers and their status. Its connection is outbound over WebSocket, so this agent-based setup does not require opening inbound firewall ports.
Keep the agent outside the application container in this architecture. The application image should remain independent of the workstation’s printer configuration.
2. Create a small project directory
Use this structure:
container-print-demo/
  Dockerfile
  compose.yaml
  print_pdf.py
  .dockerignore
  .gitignore
  documents/
    packing-slip.pdf
  secrets/
    printscaler_api_key.txt
Put your PDF in documents/packing-slip.pdf. Save only your API key in secrets/printscaler_api_key.txt, without quotes.
Add these entries to .gitignore:
secrets/
__pycache__/
Add these entries to .dockerignore:
secrets/
documents/
.git/
__pycache__/
Ignoring the secret in Git prevents an accidental commit. Excluding it from the build context provides an additional safeguard. The Dockerfile below copies only the Python script, not the entire project.
The local secret file is still sensitive. Restrict access to it, and use your deployment platform’s secret manager in production rather than distributing credential files with application code.
3. Write the Python print client
Create print_pdf.py:
import base64
import json
import os
import sys
from pathlib import Path
from urllib.error import HTTPError, URLError
from urllib.request import Request, urlopen


def main():
    api_key = Path(
        os.environ["PRINTSCALER_API_KEY_FILE"]
    ).read_text(encoding="utf-8").strip()

    printer_id = int(os.environ["PRINTSCALER_PRINTER_ID"])
    pdf_path = Path(os.environ["PDF_PATH"])
    operation_key = os.environ["PRINT_OPERATION_KEY"]

    if not api_key or not operation_key:
        raise ValueError("API key and operation key must not be empty")

    payload = {
        "printerId": printer_id,
        "contentType": "pdf_base64",
        "content": base64.b64encode(
            pdf_path.read_bytes()
        ).decode("ascii"),
        "title": os.environ.get("PRINT_TITLE", "Packing slip"),
    }

    request = Request(
        "https://api.printscaler.com/v1/printjobs",
        data=json.dumps(payload).encode("utf-8"),
        headers={
            "Authorization": f"Bearer {api_key}",
            "Content-Type": "application/json",
            "X-Idempotency-Key": operation_key,
        },
        method="POST",
    )

    try:
        with urlopen(request, timeout=30) as response:
            print(f"Print request accepted: HTTP {response.status}")
    except HTTPError as exc:
        print(f"Print API returned HTTP {exc.code}", file=sys.stderr)
        return 1
    except (URLError, TimeoutError):
        print(
            "No confirmed response; check job history before retrying.",
            file=sys.stderr,
        )
        return 1

    return 0


if __name__ == "__main__":
    raise SystemExit(main())
The request uses the real print-job endpoint and pdf_base64 content type. Authentication uses a Bearer API key. See the print-job API reference when adapting the payload to your application.
The example deliberately does not claim that an accepted request means paper has emerged. Submission and physical printing are separate stages.
It also avoids logging credentials or document contents. In production, capture the API’s job response in your application’s protected storage so you can correlate the submission with later status updates.
4. Build a printer-independent container image
Create Dockerfile:
FROM python:3.13-slim

WORKDIR /app
COPY print_pdf.py /app/print_pdf.py

USER 10001:10001

CMD ["python", "/app/print_pdf.py"]
There are no printer packages to install. The image only needs Python, HTTPS connectivity, and access to the mounted PDF and credential.
Running as a non-root user reduces the container’s privileges. Ensure that the mounted PDF and secret are readable by that user; host-file ownership and permissions can affect bind-mounted files.
5. Configure Docker Compose
Create compose.yaml:
services:
  print-client:
    build: .
    environment:
      PRINTSCALER_API_KEY_FILE: /run/secrets/printscaler_api_key
      PRINTSCALER_PRINTER_ID: "123"
      PDF_PATH: /documents/packing-slip.pdf
      PRINT_OPERATION_KEY: "packing-slip-1042-original"
      PRINT_TITLE: "Packing slip 1042"
    secrets:
      - printscaler_api_key
    volumes:
      - ./documents:/documents:ro

secrets:
  printscaler_api_key:
    file: ./secrets/printscaler_api_key.txt
Replace 123 with your actual printer ID. The PDF directory is mounted read-only, and the API key is read from a secret file rather than embedded in an image layer or hard-coded into the script.
Local Docker Compose secrets should not be mistaken for a complete production secrets-management system. The source credential still exists on your host and needs appropriate protection.
Build and run the client:
docker compose build
docker compose run --rm print-client
Check the PrintScaler dashboard for the resulting job and its history.
Keep the same PRINT_OPERATION_KEY when retrying this same logical print operation. For a genuinely different document or an intentional reprint, use a new operation key. Otherwise, duplicate protection may correctly treat it as the earlier request.
Choose between a PDF URL and base64 content
Base64 is convenient when a container has just generated a document or can read it from a mounted volume. It keeps the document and print instruction together in one request.
The trade-off is payload size: base64 encoding increases the size of the document data by roughly one-third, and this simple script reads the file into memory.
For documents already stored in object storage, pdf_uri can be more suitable:
{
  "printerId": 123,
  "contentType": "pdf_uri",
  "content": "https://files.example.com/packing-slip.pdf",
  "title": "Packing slip 1042"
}
Replace the example address with a URL the printing service can actually retrieve. A path inside the container, such as /app/output.pdf, is not a remotely accessible URL. Neither is http://localhost:8000/output.pdf: from another service, localhost refers to that service’s own environment, not your container.
If you use signed URLs, choose an expiration appropriate to the job’s possible processing window, including delays. Test offline behavior rather than assuming a URL that works immediately will remain available later. Use base64 when you want to avoid depending on a later URL fetch.
Move printing out of the web request
The demo is a one-shot command. A production application should usually create a durable print task and let a worker submit it.
A practical workflow is:
- Commit the order, shipment, or invoice transaction.
- Record a print intent with its destination, document reference, and operation key.
- Let a background worker submit the print request.
- Persist the submission result and track subsequent job states.
- Surface failures to an operator rather than retrying forever.
Make the print intent durable before relying on a worker to process it. Otherwise, a container restart between committing an order and enqueuing its printing task can silently lose the print action.
Store printer routing in application configuration or a database. For example, a warehouse identifier can map to a particular packing-slip printer ID. Do not let arbitrary browser input choose any printer available to your account.
This keeps authorization and location routing in your backend, where they belong.
Handle retries, offline computers, and job status
Containers restart. Networks time out. A workstation may be turned off overnight. Design for those conditions explicitly.
Reuse an operation key for uncertain submissions
A timeout does not prove that the API rejected the request. It may have accepted the job before the response was lost.
Send the same X-Idempotency-Key when retrying that operation. PrintScaler supports idempotency keys so retried requests do not create duplicate prints. Read the idempotency documentation before implementing your retry policy.
Do not use a random key on every retry. Generate and persist one key for the business action, such as printing the original packing slip for a particular shipment.
Distinguish accepted jobs from completed jobs
PrintScaler job states include new, sent_to_client, queued, in_progress, done, error, cancelled, and expired.
Jobs queue while a computer is offline and print when it reconnects, provided they have not expired. Expiration is configurable, so choose a policy that matches the document: an old invoice may remain useful, while a late kitchen ticket could be misleading.
Use job history and status monitoring instead of treating HTTP success as a complete operational result. The job-state reference explains the lifecycle. For event-driven tracking, PrintScaler also provides HMAC-SHA256-signed webhooks, including printjob.state.
Control worker throughput
PrintScaler’s API rate limit is 10 requests per second with a burst of 30. Coordinate concurrency across replicas rather than allowing every container to submit at its own independent maximum.
Use bounded retries with backoff for transient failures. Authentication errors, invalid destinations, and bad document inputs require investigation, not an endless retry loop.
Troubleshoot Docker printing by layer
| Symptom | Check first |
|---|---|
| Container cannot read the PDF | Volume mount, PDF_PATH, and host-file permissions |
| Container cannot read the API key | Secret filename, mount path, and file permissions |
| HTTPS request fails | Container DNS, outbound access, proxy settings, and certificate trust |
| API rejects the request | Authentication, printer ID, and required payload fields |
| Job waits without printing | Agent connection, computer availability, and job history |
| Job reaches the computer but output fails | Local printer installation, paper, queue errors, and document compatibility |
Do not start by changing container networking when the dashboard shows that the request was accepted and the workstation is offline. Likewise, reinstalling the printer driver will not fix an unreadable secret file inside the container.
For serverless deployments with a similar separation between application and printer, see the AWS Lambda local printing guide.
Keep the container focused on the print request
To print from Docker reliably, separate document generation and business logic from physical printer access. Your container submits an authenticated request; the agent-connected computer handles the local printer, while your application tracks the job and manages retries safely.
Start with one PDF and one printer, verify the full path, and then add durable workers and destination routing. Create a free PrintScaler account to test the workflow with your own container and printer.
Frequently asked questions
Can a Docker container print to a USB printer?
Yes, when the container host and runtime support the necessary device access, but configuration depends on the operating system and printer stack. For a USB printer attached to a different computer, an agent-based printing API avoids passing the device into the application container.
Do I need CUPS inside my Docker container?
Not when the container submits documents to PrintScaler over HTTPS. CUPS may be part of a direct-printing architecture, but the API example only requires the application runtime, document access, and outbound HTTPS connectivity.
Can a cloud-hosted Docker container reach a printer on my office network?
Not through the printer's private IP address alone; it needs a network route or an intermediary. With PrintScaler, an agent on the office computer maintains an outbound connection and delivers jobs to locally available printers without opening inbound ports.
Should I send a PDF URL or base64 data from Docker?
Use base64 when the PDF is generated inside the container or you want to avoid depending on a later URL fetch. Use a PDF URL when the document is already hosted at an accessible address, making sure its availability and expiration fit the printing workflow.
Will restarting a print worker create duplicate prints?
It can if the worker resubmits an uncertain request as a new operation. Persist a logical operation key and reuse it in the X-Idempotency-Key header for retries so PrintScaler can prevent duplicate submissions.
What happens if the printer-connected computer is offline?
PrintScaler queues jobs while the computer is offline and prints them after it reconnects, provided they have not expired. Use an appropriate expiration policy and monitor job history rather than assuming an accepted request has already produced paper.