Print ZPL From Cloud Apps to Zebra Printers: API Guide
Send ZPL labels from your cloud application to local Zebra printers without exposing printer ports. Follow a working API example and learn how to handle DPI, retries, offline queues, and barcode checks.
By the PrintScaler team · · 9 min read
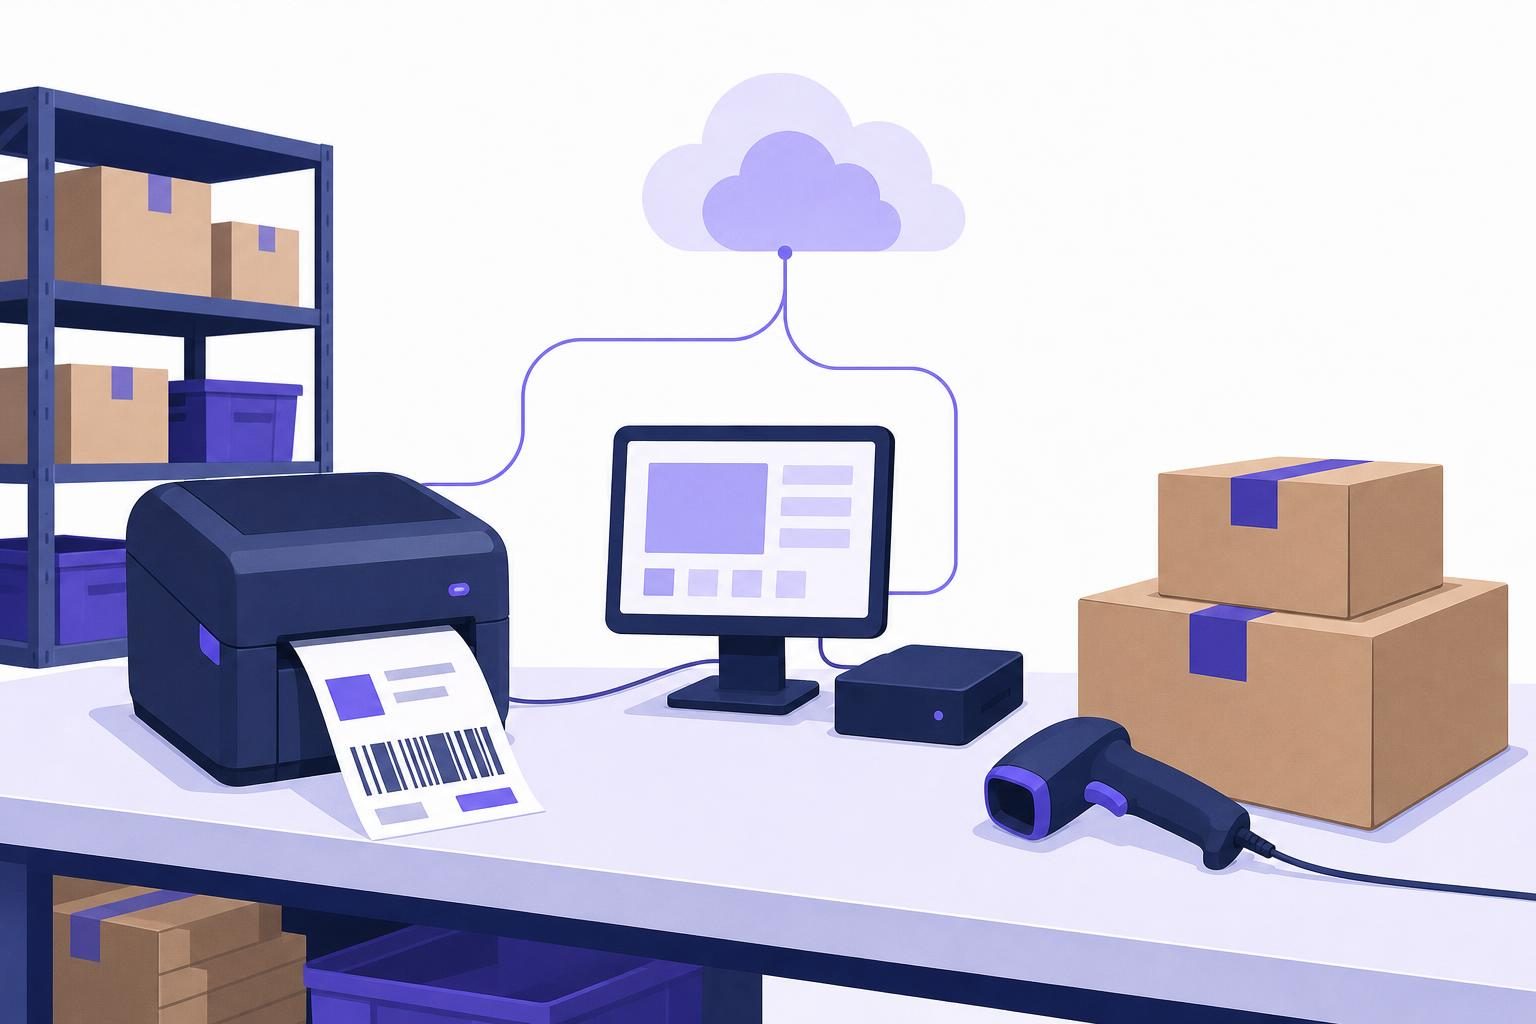
You can print ZPL from cloud applications by sending the label commands to a printing API connected to the destination printer. With PrintScaler, an agent on a warehouse computer receives the job and passes the RAW payload to the printer, so your application does not need direct access to the warehouse network. The essential requirements are a printer that understands ZPL, a label template matched to its resolution, and a retry strategy that avoids duplicate requests.
How cloud-to-Zebra printing works
A cloud server usually cannot reach a label printer plugged into a warehouse computer or sitting on a private network. Knowing the printer’s local IP address does not solve that: an address such as 192.168.1.50 is not publicly routable.
An agent-based workflow bridges the gap:
- Your application generates ZPL or receives it from a shipping system.
- Your backend submits that content to PrintScaler over HTTPS.
- The PrintScaler agent receives the job on the connected computer.
- The local printing system delivers the RAW commands to the selected printer.
- Your application tracks the print job’s state.
The agent uses an outbound WebSocket connection. You do not need to open an inbound port or expose the printer directly to the internet, although the computer still needs permission to make the required outbound connections.
This architecture suits a warehouse workstation, a packing bench, or several fulfillment locations. The application chooses the destination through a printer ID rather than assuming that the cloud server and printer share a network.
Check printer language compatibility before writing code
Zebra is a hardware brand; ZPL is a printer command language. Verify the language supported by the exact printer model and its current configuration rather than assuming every label printer accepts the same commands.
Some compatible printers support ZPL emulation. Others expect EPL, a different command language, or a driver-rendered document. Sending ZPL to a printer that does not understand it can produce literal command text, blank output, or no useful result.
Before proceeding, confirm:
- Command language: The printer supports ZPL or an appropriate ZPL emulation mode.
- Resolution: The printhead is, for example, 203 or 300 DPI.
- Media: The label width, height, and gap or black-mark sensing match the loaded stock.
- Local connectivity: The printer is installed on the computer that will run the agent.
- Routing: You know which physical packing station corresponds to the selected printer.
Start by printing locally with a known-good label. A cloud API cannot correct a disconnected USB cable, incompatible printer language, or incorrectly calibrated media sensor.
Choose RAW ZPL or PDF deliberately
A common mistake is treating every label file as an interchangeable document. ZPL contains instructions for a compatible printer; a PDF describes a rendered page.
| Situation | Recommended payload | Main consideration |
|---|---|---|
| A shipping provider supplies ZPL | RAW ZPL | Preserve the supplied commands and match the intended printer resolution |
| Your application generates ZPL templates | RAW ZPL | Control dimensions and barcode placement in printer dots |
| A shipping provider supplies only PDF | Match paper size and scaling to the physical label | |
| A printer does not support ZPL | A supported format, often PDF | Confirm the local driver and device capabilities |
PrintScaler accepts RAW content through raw_base64 or raw_uri. For a small label generated by your application, raw_base64 keeps the content inside the API request and avoids a separate file-fetch dependency.
Base64 is transport encoding, not a format conversion. Encoding a PDF as base64 and declaring it RAW does not turn it into ZPL. Similarly, wrapping ZPL in a PDF workflow will not preserve its printer-command behavior.
Print ZPL from cloud with PrintScaler: step by step
1. Connect the warehouse printer
Install the PrintScaler agent on the Windows, macOS, Linux, or Raspberry Pi computer that can access the printer. Pair the computer by entering the dashboard’s pairing code in the agent.
Check that the intended printer appears in the dashboard. Use the test-page button to check basic connectivity, but also validate an actual RAW ZPL label: a general test page does not establish that the device understands your command language.
The agent starts automatically after reboots and updates itself. For warehouse operations, also check the computer’s power and sleep settings; an automatically starting agent still cannot print while its host is asleep or disconnected.
2. Record the destination printer ID
Select the correct printer in the dashboard and obtain its ID. Your backend will send that value as printerId.
Keep a deliberate mapping between business locations and printer IDs. For example, a packing station configuration might point to one shipping-label printer and a separate office-document printer.
Do not choose a printer solely because its name contains “Zebra.” Multiple stations can have similar names, and printing a valid shipping label at the wrong bench is still an operational failure.
3. Prepare a small ZPL test label
Save the following as label.zpl:
^XA
^PW812
^LL1218
^FO40,40^A0N,42,42^FDPACKING TEST^FS
^FO40,110^A0N,30,30^FDORDER 10482^FS
^FO40,180^BY2,2,110
^BCN,110,Y,N,N
^FD10482^FS
^FO40,360^A0N,28,28^FDVerify barcode before production^FS
^PQ1
^XZ
This is a test layout for a nominal 4 × 6-inch label at 203 DPI, not a carrier-approved shipping label. It uses an approximately 812-dot width and 1,218-dot length, prints a Code 128 barcode, and requests one copy.
The main commands are:
^XAand^XZ: Start and end the label format.^PWand^LL: Set print width and label length in dots.^FO: Position a field.^FDand^FS: Supply field data and end the field.^BC: Create a Code 128 barcode.^PQ1: Request one label.
Use simple ASCII content for the first test. International characters require deliberate font and character-encoding choices supported by the printer.
4. Submit the label from your backend
The following example uses Node.js 22 or later, its built-in fetch, and the real PrintScaler print-job endpoint. See the print-job API reference for the complete API documentation.
Save this as print-label.mjs:
import { readFile } from 'node:fs/promises';
import { createHash } from 'node:crypto';

const apiKey = process.env.PRINTSCALER_API_KEY;
const printerId = Number(process.env.PRINTSCALER_PRINTER_ID);
const labelEventId = process.env.LABEL_EVENT_ID;

if (
  !apiKey ||
  !Number.isSafeInteger(printerId) ||
  printerId <= 0 ||
  !labelEventId
) {
  throw new Error('Set API key, valid printer ID, and label event ID');
}

const zplBytes = await readFile('label.zpl');
const idempotencyKey = createHash('sha256')
  .update(`shipping-label:${labelEventId}`)
  .digest('hex');

const response = await fetch(
  'https://api.printscaler.com/v1/printjobs',
  {
    method: 'POST',
    headers: {
      Authorization: `Bearer ${apiKey}`,
      'Content-Type': 'application/json',
      'X-Idempotency-Key': idempotencyKey
    },
    body: JSON.stringify({
      printerId,
      contentType: 'raw_base64',
      content: zplBytes.toString('base64'),
      title: `Shipping label ${labelEventId}`
    }),
    signal: AbortSignal.timeout(15000)
  }
);

const result = await response.text();
if (!response.ok) {
  throw new Error(`Print request failed: ${response.status} ${result}`);
}

console.log(result);
Run it from the directory containing the label:
export PRINTSCALER_API_KEY='psk_your_key_here'
export PRINTSCALER_PRINTER_ID='123'
export LABEL_EVENT_ID='shipment-10482-original'
node print-label.mjs
Replace the example ID with the real destination printer ID. Store the API key in your deployment’s secret manager or protected environment configuration, not in browser JavaScript or a public repository.
Reading the file as bytes preserves its original content before base64 encoding. That is especially useful when forwarding ZPL supplied by another system rather than generating the label yourself.
5. Verify the output before automating fulfillment
Check the physical label, not just the successful HTTP response:
- Confirm that the correct printer produced it.
- Measure the layout against the actual label stock.
- Scan the barcode with the scanner used in production.
- Check text clarity, clipping, and label-feed behavior.
- Send several test jobs and verify the expected count.
An accepted API request is not proof that a readable barcode reached the correct parcel. Keep that distinction explicit in your application’s status messages.
Match ZPL dimensions to printer DPI
ZPL positioning is commonly expressed in dots. A layout authored for one resolution will not retain the same physical dimensions on a different-resolution printhead without appropriate adjustment.
For a nominal 4 × 6-inch label:
| Printhead resolution | Approximate width | Approximate length |
|---|---|---|
| 203 DPI | 812 dots | 1,218 dots |
| 300 DPI | 1,200 dots | 1,800 dots |
If a 203-DPI layout is sent unchanged to a 300-DPI printer, its dot-based elements generally occupy less physical space. Changing only ^PW and ^LL does not rescale every field, font, and barcode.
For carrier-supplied labels, request the appropriate resolution when the provider supports that choice. Avoid blindly rewriting supplied shipping-label commands: barcode dimensions, quiet zones, and required layout elements matter.
For your own templates, maintain resolution-specific layouts or use a generator that deliberately converts physical measurements into dots. Validate each supported printer-and-media combination with real scans.
Prevent duplicate labels when requests are retried
Network timeouts create an ambiguous situation: your application may not receive the response even though the service accepted the print request. Retrying with a fresh identity can create another label.
PrintScaler supports the X-Idempotency-Key header to prevent a retried request from creating a duplicate print job. Review the idempotency documentation before implementing your retry policy.
The example derives the key from a persisted label-event identifier. In production:
- Create one durable event ID for each intended print operation.
- Preserve the printer, content, and idempotency key across retries.
- Distinguish an automatic retry from an intentional operator reprint.
- Give an intentional reprint its own event ID and record why it was requested.
Do not generate a new random key on every network attempt. Also avoid using only an order number: an order may require multiple parcels, revised labels, or legitimate reprints.
Idempotency protects request submission; it is not a barcode quality check or a universal guarantee about physical output. Keep application retry logic separate from an operator’s decision to print another copy.
Handle offline printers and track job progress
PrintScaler queues jobs while the connected computer is offline and prints them when it returns, subject to configurable job expiration. That helps with temporary workstation outages, but expiration should match the business process.
A label for an active packing session may become stale if it prints hours later. Decide whether delayed jobs should still print, and make that behavior visible to operators.
Available job states include new, sent_to_client, queued, in_progress, done, error, cancelled, and expired. Use the dashboard’s job history during testing, then integrate signed print-job webhooks for ongoing status updates.
Verify HMAC-SHA256 signatures and make your webhook handler safe for repeated deliveries, since webhook delivery is retried. Correlate job updates with the application’s label event rather than treating each notification as a new fulfillment action.
For larger batches, pace submissions around the API’s limit of 10 requests per second, with a burst of 30. A dispatch queue with bounded concurrency is easier to control than launching a request for every label simultaneously.
If your backend runs serverlessly, the related AWS Lambda printing guide covers connecting that execution model to a local printer.
Troubleshoot common cloud ZPL printing problems
The printer outputs literal ZPL commands
Check that the device supports ZPL and is in the appropriate language mode. Confirm that your request uses raw_base64 for the base64-encoded ZPL bytes, rather than a PDF content type or a text-document printing path.
Labels are too small, shifted, or clipped
Compare the template’s intended DPI with the physical printhead. Then check label dimensions, field coordinates, media calibration, and printer offsets. Changing the cloud request alone will not fix a mismatched template.
The printer feeds blank labels
Check media orientation, direct-thermal versus thermal-transfer requirements, ribbon where applicable, and gap or mark calibration. Test a known-good ZPL file locally to separate printer setup from API delivery.
A label prints twice
Inspect whether your application submitted two different print events, changed the idempotency key during a retry, or requested multiple copies inside the ZPL. Check ^PQ as well as any upstream label-generation logic.
The API accepted the job, but nothing appears
Inspect job history, computer connectivity, and the local printer queue. Confirm that the selected printer ID belongs to the intended station, then check for paused queues, missing media, and device errors.
Start with one station, then expand
A reliable cloud ZPL workflow starts with one known printer, one validated template, and one traceable print event. Once that path works, add destination mapping, safe retries, status handling, and resolution-specific testing before expanding across stations.
PrintScaler’s Free plan includes 100 print requests per month and one connected computer, with all printers on that computer. Billing is per print request rather than per page; review the current plans when sizing a larger deployment.
Create a free PrintScaler account, connect a label printer, and send a test ZPL job before wiring the workflow into live fulfillment.
Frequently asked questions
Can I print ZPL directly from a cloud application?
Yes. Your backend can submit ZPL as a RAW print job to a service connected to the destination printer. With PrintScaler, the local agent receives the job through an outbound connection, so the cloud application does not need direct access to the warehouse network.
Does every Zebra printer support ZPL?
Do not assume support based on the brand alone. Check the exact model's supported command languages and configuration before sending ZPL, and validate it with a known-good test label.
Can I send a PDF using raw_base64 to print a Zebra label?
Base64 encoding does not convert a PDF into ZPL. Use a PDF content type for PDF documents and a RAW content type for ZPL commands, choosing the format supported by your printer and workflow.
Why does my ZPL label print smaller on a 300-DPI printer?
A template designed for 203 DPI uses dot-based positions and dimensions that occupy less physical space at 300 DPI. Use a template intended for the target resolution; changing the label width and length alone does not rescale all its elements.
How do I avoid duplicate shipping labels after an API timeout?
Persist one print-event ID and reuse the same X-Idempotency-Key, destination, and payload when retrying that request. Treat an intentional operator reprint as a separate event rather than generating a new identity for every automatic retry.
What happens if the warehouse computer is offline?
PrintScaler queues jobs while the computer is offline and sends them when it returns, subject to configurable expiration. Choose an expiration policy that prevents outdated shipping labels from appearing after they are no longer useful.